
Over thirty million American adults experience lower back pain at any given time, making it one of the most common reasons for missed work and discomfort at home. Finding relief goes beyond quick fixes or medication—it often starts with simple, consistent habits that support your well-being. By focusing on a few key steps for setting up your yoga practice, you can build a routine that helps ease pain and supports long-term back health.
Table of Contents
- Step 1: Set Up a Comfortable Practice Space
- Step 2: Warm Up Your Body Gently
- Step 3: Perform Key Beginner Yoga Poses
- Step 4: Focus on Safe Alignment and Breathing
- Step 5: Check for Relief and Adjust Your Routine
Quick Summary
| Key Point | Explanation |
|---|---|
| 1. Create a Personal Yoga Space | Choose a quiet, well-lit area at home to practice, ensuring enough space and minimal distractions for a calming environment. |
| 2. Start with Gentle Warm-Up Movements | Perform simple joint mobilization and breath exercises to prepare your body, enhancing flexibility and preventing injuries before your practice. |
| 3. Focus on Foundational Poses | Learn and practice basic yoga poses, such as Mountain Pose and Cat-Cow, to build strength, flexibility, and confidence in your movements. |
| 4. Prioritize Proper Alignment and Breathing | Master your body alignment and diaphragmatic breathing to enhance body awareness, prevent injuries, and better connect movement with breath. |
| 5. Monitor Your Progress and Adjust | Regularly assess your practice’s effectiveness, noting any pain or discomfort, and adapt your routine for better results and comfort. |
Step 1: Set Up a Comfortable Practice Space
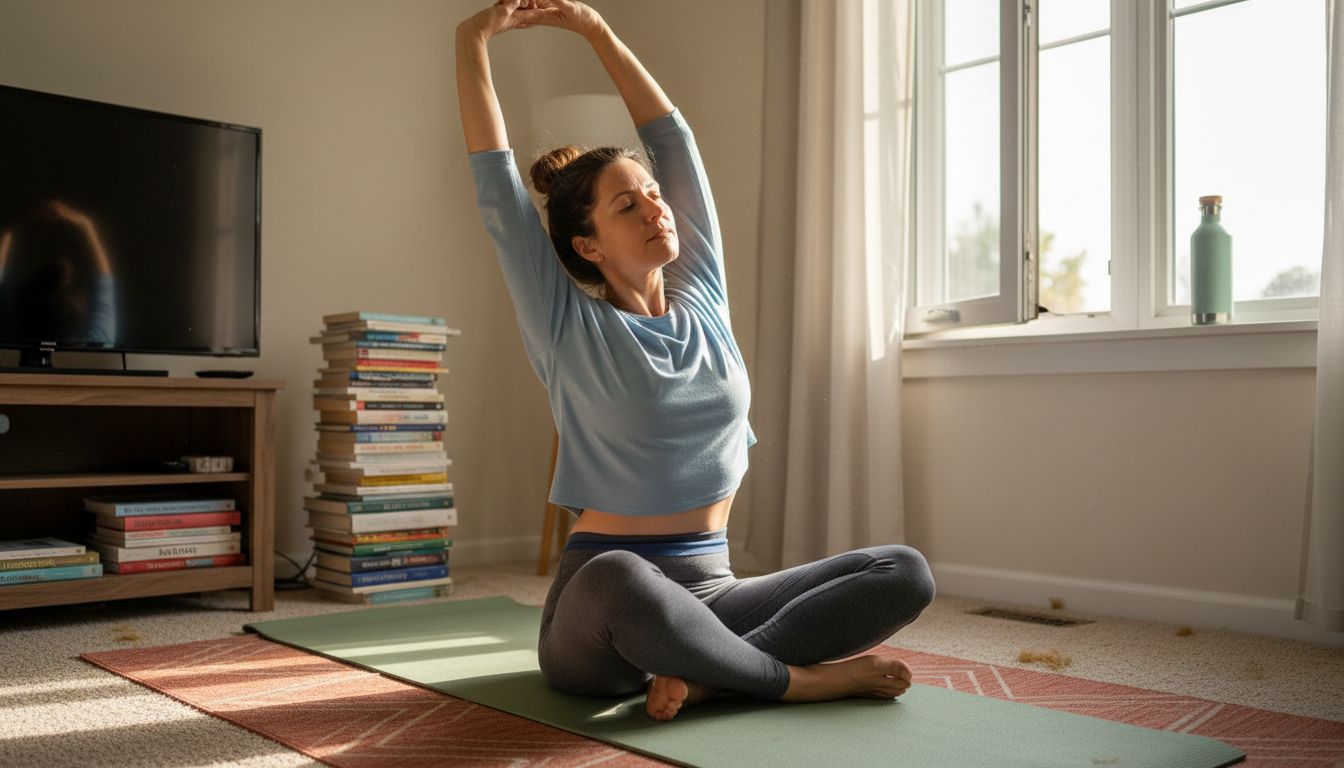
Creating the right environment for your yoga practice can transform your experience from basic stretching to a deeply healing ritual. Your practice space should feel like a personal sanctuary that invites calm and supports your physical movements.
Start by selecting a quiet area in your home with enough room to fully extend your body in all yoga poses. Ideally, choose a space with natural light and good ventilation. A spare bedroom, living room corner, or even a cleared area near a window can work perfectly. Aim for at least a 6x6 foot space to allow comfortable movement without feeling cramped.
Consider the flooring carefully. A hard surface like hardwood is great for stability, but you will want to place a high quality yoga mat to provide cushioning and grip. If you have carpeting, a firm mat underneath your yoga mat can help create a more stable surface. Natural light is wonderful, but avoid direct sunlight which can be distracting or overly warm during practice.
Temperature matters more than you might think. Ensure the room is comfortably warm but not hot, around 68 to 72 degrees Fahrenheit. This helps keep your muscles relaxed and prevents injury. Keep a light blanket nearby for final relaxation or meditation to stay comfortable.
Remember that your practice space is not just physical but energetic. Clear the area of clutter, perhaps adding a small plant, a candle, or a meaningful object that helps you feel centered and calm. Your yoga space should feel like a refuge from the outside world where you can fully focus on your breath and movement.
Step 2: Warm Up Your Body Gently
Before diving into your yoga practice, preparing your body with gentle movements is crucial for preventing injury and enhancing flexibility. A thoughtful warm-up helps transition your muscles from rest to active engagement, setting the foundation for a safe and effective session.
Begin with gentle joint mobilization techniques that help increase blood flow and reduce stiffness. Start with your neck by slowly rolling it in circular motions clockwise and counterclockwise, releasing any tension. Move to your shoulders with slow rolls and arm circles, then gently twist your torso from side to side. Pelvic tilts can help warm up your lower back and core muscles, creating more fluidity in your movements.
Breath work is another essential component of a proper warm-up. Practice some deep breathing exercises that synchronize movement with breath. Try seated cat-cow stretches where you inhale and arch your back, then exhale and round your spine. This not only warms your body but also helps center your mind and prepare you mentally for your practice.
Pay attention to how your body feels during these warm-up movements. If something feels uncomfortable or painful, modify the movement or skip it entirely. The goal is gentle preparation, not pushing yourself too hard. A good warm-up should leave you feeling more open, relaxed, and ready to move into your main yoga sequence.
As you complete your warm-up, take a moment to check in with your body. Notice any areas of tension or tightness, and breathe into those spaces. You are now ready to transition into your primary yoga practice with increased awareness and reduced risk of strain.
Step 3: Perform Key Beginner Yoga Poses
Learning foundational yoga poses is your gateway to building strength, flexibility, and body awareness. These initial poses will help you understand proper alignment and develop confidence in your practice.
Start with fundamental yoga poses that establish body awareness and balance. Mountain Pose is an excellent starting point. Stand with your feet hip width apart, distribute your weight evenly, and engage your core. Imagine a straight line running from the crown of your head to your heels, creating a sense of grounded stability. Mountain Pose teaches you the basics of alignment and helps you develop a strong foundation for more complex movements.

Next, explore gentle poses like Cat-Cow Stretch to increase spinal flexibility. Begin on your hands and knees, aligning your wrists under your shoulders and knees under your hips. As you inhale, drop your belly and lift your chin and chest creating a gentle backbend. On the exhale, round your spine toward the ceiling, tucking your chin to your chest. This dynamic movement helps warm up your spine and teaches you how to coordinate breath with movement.
Bridge Pose is another excellent beginner pose for building core and lower body strength. Lie on your back with your knees bent and feet flat on the floor. Press your feet and arms into the ground, then lift your hips toward the ceiling. Keep your thighs parallel and engage your glutes and core. This pose not only strengthens your posterior chain but also helps open your chest and hip flexors.

Remember that yoga is a personal journey. Listen to your body, move slowly, and never push yourself into pain. Each pose is an opportunity to connect with your breath and understand your body’s unique capabilities. As you practice, you will gradually build strength, flexibility, and inner calm.
Step 4: Focus on Safe Alignment and Breathing
Mastering proper alignment and breath control is the cornerstone of a safe and transformative yoga practice. This step will help you develop body awareness and create a mindful connection between movement and breath.
Alignment begins with understanding your body’s natural positioning in each pose. Think of your body as a structure where every part plays a crucial role in maintaining balance and preventing injury. Start by checking your foundation. Whether standing, sitting, or on your hands and knees, ensure your weight is evenly distributed. In standing poses, root through your feet and imagine a line of energy running up through your spine. Keep your joints soft and avoid locking your knees or elbows.
Breath is your most powerful tool in yoga. Practice diaphragmatic breathing that involves deep inhales and exhales through your nose. Place one hand on your belly and another on your chest. As you breathe in, feel your belly expand first, then your chest. This type of breathing helps calm your nervous system and creates a rhythm for your movements. During poses, match your breath to your movement timing your inhales and exhales with specific transitions.
Pay close attention to any sensations in your body. Sharp or shooting pain is a sign to back off or modify a pose. Mild stretching or mild discomfort is normal, but pain is not. If a pose feels too challenging, use props like blocks or straps to support your body. Remember that yoga is not about perfection but about listening to your body and respecting its current limits.
As you continue practicing, your body awareness will naturally improve. Each breath and movement becomes an opportunity to connect more deeply with yourself, building strength, flexibility, and inner peace.
Step 5: Check for Relief and Adjust Your Routine
Tracking your progress and understanding how yoga impacts your lower back pain is crucial for developing an effective long-term practice. This step helps you become an active participant in your healing journey, learning to listen to your body and make intelligent adaptations.
Regularly evaluating the effectiveness of your yoga practice requires honest self reflection. After each session, take a moment to assess how your body feels. Note any changes in pain intensity, flexibility, or overall comfort. Keep a simple journal documenting your practice times, poses performed, and how you felt before and after. This documentation helps you identify which movements provide the most relief and which might need modification.
Pay attention to subtle body signals. Mild soreness that dissipates quickly is normal, but persistent pain or sharp discomfort means you need to adjust your approach. If certain poses consistently cause discomfort, consider working with a yoga instructor who can provide personalized guidance. They can help you modify poses or suggest alternative movements that achieve similar benefits without strain.
Remember that healing is not linear. Some days you will feel stronger and more flexible, while other days might feel more challenging. Be patient and compassionate with yourself. Your yoga practice is a journey of gradual improvement, not a competition. If you experience a pain flare up, take a step back and return to gentler movements until you feel ready to progress.
As you continue your practice, you will develop an intuitive understanding of your body’s needs. Trust this inner wisdom and remain open to adapting your routine. Yoga is a lifelong practice of learning and self discovery, with each breath and movement bringing you closer to balance and wellness.
Enhance Your Yoga Practice and Find Lasting Relief for Lower Back Pain
Lower back pain can feel overwhelming but combining mindful yoga poses with a supportive wellness routine can make all the difference. This beginner’s guide highlights essential steps like setting up a calming practice space and focusing on safe alignment and breath control to prevent discomfort and build strength gradually. If you are ready to complement your yoga journey with high-quality wellness essentials designed to nurture your body and mind look no further than GNS Beauty & Personal Care.

Explore our curated selection of products that support comfort and relaxation during your practices including premium yoga mats for stability and grip plus wellness items to create a soothing atmosphere. Don’t wait to transform your routine with sustainable personal care solutions that promote inner calm and natural beauty. Visit GNS Beauty & Personal Care today to discover how thoughtful self-care can empower your healing journey and enhance every breath and movement.
Frequently Asked Questions
What are the best yoga poses for relieving lower back pain?
To relieve lower back pain, effective yoga poses include Cat-Cow Stretch, Bridge Pose, and Child’s Pose. Incorporate these poses into your routine at least three times per week to start feeling relief.
How can I set up a comfortable space for yoga practice at home?
Choose a quiet, well-lit area with at least a 6x6 foot space to practice yoga comfortably. Clear any clutter and add calming elements like a small plant or candle to enhance your focus and relaxation during practice.
How do I warm up my body before starting yoga for lower back pain?
Begin your yoga session with gentle joint mobilization techniques, such as neck rolls and shoulder circles. Spend 5–10 minutes on warm-up exercises to increase blood flow and prepare your muscles for deeper stretches.
Is it necessary to focus on breathing techniques during yoga?
Yes, breath control is essential during yoga as it helps calm the nervous system and improves the connection between movement and breath. Practice deep diaphragmatic breathing before and during poses to enhance your overall experience.
How can I track my progress in yoga for lower back pain?
Keep a simple journal documenting your practice sessions, including poses completed and how you felt afterward. Regularly reflect on any changes in pain levels or flexibility to identify areas that are improving or might need adjustment.
What should I do if I experience pain during a pose?
If you feel sharp or intense pain during a pose, stop and modify the movement or skip it entirely. Listen to your body and consult a qualified instructor for personalized guidance on alternative poses that provide relief without strain.


Leave a comment
All comments are moderated before being published.
This site is protected by hCaptcha and the hCaptcha Privacy Policy and Terms of Service apply.