
Cleansing your face might seem like a basic habit, but it is the cornerstone of every effective skincare routine. About 80 percent of people use the wrong products or methods for their skin type, according to dermatological research. Most folks rush through it, thinking any soap and a quick splash will do the trick. The real secret hides in the prep work and gentle techniques—those details shape the difference between glowing, healthy skin and constant irritation.
Table of Contents
- Step 1: Gather Your Facial Cleansing Supplies
- Step 2: Remove Makeup Before Cleansing
- Step 3: Apply Cleanser Using Gentle Movements
- Step 4: Rinse Face Thoroughly With Lukewarm Water
- Step 5: Pat Dry And Assess Your Skin’s Condition
- Step 6: Follow Up With Moisturizer For Hydration
Quick Summary
| Key Point | Explanation |
|---|---|
| 1. Assess your skin type first | Identifying if you have dry, oily, combination, or sensitive skin helps select suitable cleansing products for effective results. |
| 2. Gently remove makeup before cleansing | Use appropriate makeup removers and soft materials to ensure thorough removal without irritating the skin. |
| 3. Apply cleanser with soft movements | Use gentle, circular motions with a suitable cleanser to avoid irritating the skin while ensuring thorough cleansing. |
| 4. Rinse with lukewarm water | Rinsing with lukewarm water helps remove cleanser residues while preserving the skin’s natural balance and health. |
| 5. Follow up with a suitable moisturizer | Applying moisturizer on slightly damp skin enhances hydration and protects the skin barrier for optimal health. |
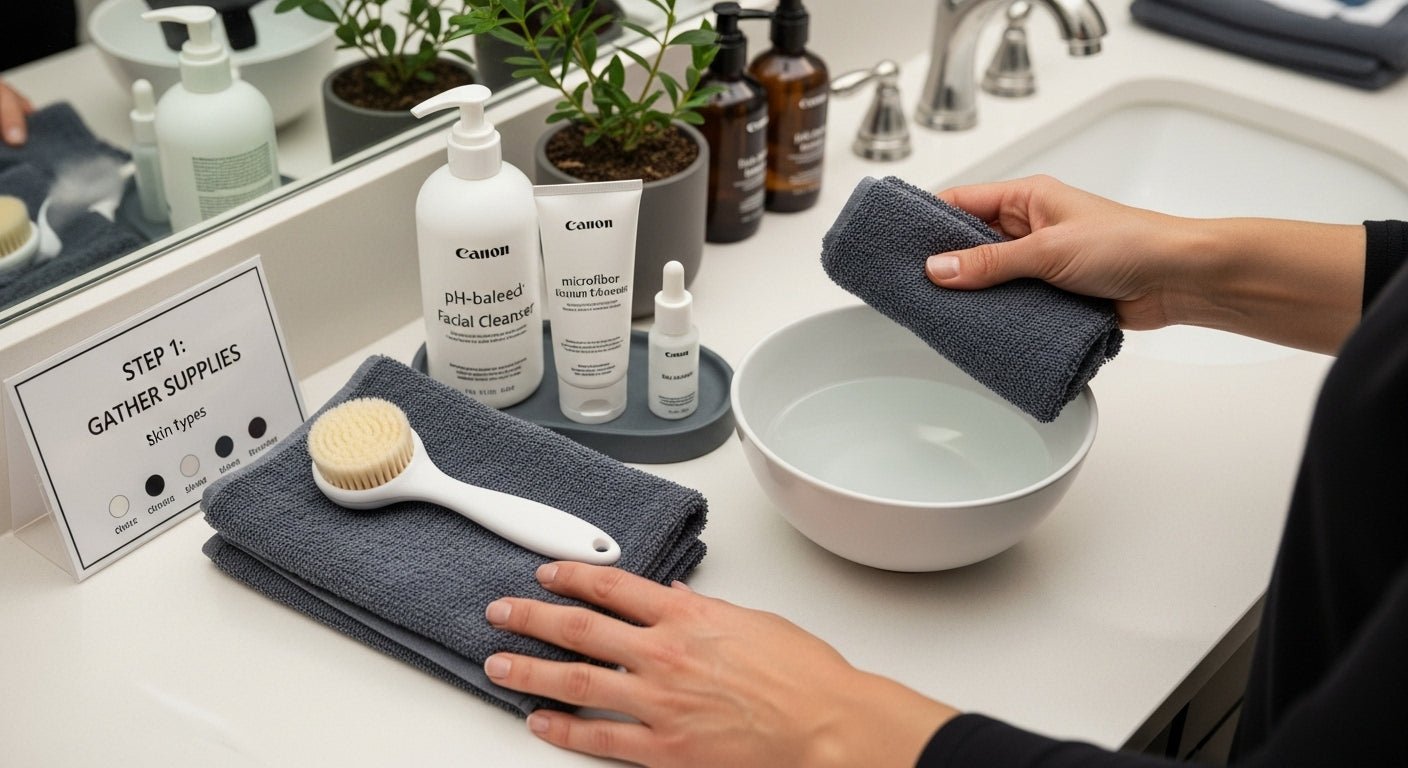
Step 1: Gather your facial cleansing supplies
Successful facial cleansing begins with selecting the right tools and products tailored to your unique skin type and needs. The preparation stage is crucial in creating an effective skincare routine that promotes healthy, radiant skin. Before diving into the cleansing process, you will need to assemble a carefully curated collection of supplies that will transform your skincare experience.
Start by understanding your skin’s specific requirements. Different skin types demand different approaches, so take a moment to assess whether you have dry, oily, combination, or sensitive skin. This assessment will guide your product selection. Essential supplies for a comprehensive facial cleansing routine include a gentle facial cleanser matched to your skin type, lukewarm water, clean soft towels, and optional supporting tools like facial cloths or cleansing brushes.
Your core toolkit should include:
- A pH-balanced facial cleanser specific to your skin type
- Soft, clean microfiber or cotton towels
- Lukewarm water (never hot, which can strip natural oils)
- Optional: Soft facial cleansing brush or muslin cloth
- Clean hands (your primary cleansing tool)
According to dermatological research, the quality and selection of your cleansing supplies significantly impact skin health. Avoid harsh materials that might cause micro-abrasions or irritation. Choose soft, lint-free towels and gentle cleansing implements that support your skin’s natural barrier.
This table summarizes essential facial cleansing supplies, their purpose, and special notes to help you prepare your routine effectively.
| Supply | Purpose | Notes |
|---|---|---|
| pH-balanced facial cleanser | Cleans skin while maintaining moisture balance | Choose based on your skin type (dry, oily, etc.) |
| Clean microfiber or cotton towels | Gently dry face without irritation | Use a fresh towel each time to avoid bacteria |
| Lukewarm water | Removes cleanser and residue comfortably | Avoid hot water to protect skin oils |
| Cleansing brush or muslin cloth (optional) | Enhances cleansing effectiveness | Best for non-sensitive skin, use gently |
| Clean hands | Primary cleansing tool | Wash thoroughly before touching face |
Before beginning, ensure your workspace is clean and organized. Wash your hands thoroughly to prevent transferring bacteria to your face. Arrange your supplies within easy reach, creating a calm, intentional environment for your skincare ritual. Remember that facial cleansing is not just a routine but a form of self-care that nurtures both your skin and your overall well-being.
Here is an overview of the key steps in a facial cleansing routine, including estimated time and main objectives for each step to help guide your process.
| Step | Main Action | Estimated Time | Key Outcome |
|---|---|---|---|
| 1 | Gather supplies | 2-3 min | Prepares skin and workspace for effective cleansing |
| 2 | Remove makeup | 3-5 min | Ensures face is free of residue for thorough cleansing |
| 3 | Apply cleanser | 1-2 min | Deeply cleanses skin, respecting its natural barrier |
| 4 | Rinse with lukewarm water | 1-2 min | Removes cleanser and residue, preventing irritation |
| 5 | Pat dry & assess | 1 min | Confirms skin is clean, balanced, and ready for moisturizer |
| 6 | Apply moisturizer | 1-2 min | Hydrates and protects the skin barrier |
Step 2: Remove makeup before cleansing
Removing makeup is a critical preparatory step that ensures your facial cleanser can effectively reach and purify your skin without unnecessary barriers. This process goes beyond simple aesthetic maintenance and represents an essential part of maintaining healthy skin by preventing clogged pores and potential irritation from residual cosmetic products.
Begin by selecting an appropriate makeup removal solution matched to your specific skin type and makeup complexity. Waterproof makeup and heavy foundation require different techniques compared to lightweight mineral cosmetics. For most skin types, micellar water or gentle oil-based makeup removers work exceptionally well. When choosing your removal product, prioritize formulations that dissolve makeup efficiently while respecting your skin’s natural moisture balance.
Apply your chosen makeup remover using soft, lint-free cotton pads or clean facial cloths. Gently press the saturated pad against areas with heavy makeup like eyes and lips, allowing the product to dissolve cosmetic layers without aggressive rubbing. According to dermatological research, harsh scrubbing can cause microscopic skin damage and potential irritation, so employ a delicate touch during this process.
Your makeup removal technique should follow these strategic approaches:
- Start with eye makeup using specialized remover
- Move to facial makeup using downward sweeping motions
- Use fresh cotton pad for each section to prevent cross-contamination
- Rinse with lukewarm water after initial makeup removal
Pay special attention to often-overlooked areas like the hairline, neck, and around the ears where makeup residue frequently accumulates. A thorough yet gentle approach ensures complete makeup removal without stressing your skin. Once you’ve completed the process, your skin should feel clean, soft, and free of any cosmetic residue, preparing it perfectly for the next cleansing stage. Verify your makeup removal’s effectiveness by using a clean white towel or cotton pad to confirm no additional makeup transfers when gently wiped across your face.
Step 3: Apply cleanser using gentle movements
The application of facial cleanser represents a pivotal moment in your skincare routine, where technique matters as much as the product itself. Proper application ensures thorough cleansing while protecting your skin’s delicate surface from potential damage or unnecessary stress. The goal is to create a cleansing experience that purifies without compromising your skin’s natural protective barrier.
Begin by dispensing a quarter-sized amount of cleanser into the palm of your hand. This quantity typically provides sufficient coverage without wastage. Warm the product between your fingertips to activate its ingredients and create a more comfortable application temperature. Approach your face with soft, relaxed hands, avoiding aggressive movements that might create micro-tears or irritation.
Apply the cleanser using circular motions with light to medium pressure, working from the center of your face outward. Focus on areas prone to congestion like the T-zone (forehead, nose, and chin) while maintaining a delicate touch around more sensitive regions such as the eyes and mouth. According to dermatological research, using fingertips with minimal pressure helps maintain skin barrier integrity and prevents potential irritation.
Your cleansing technique should incorporate these strategic principles:
- Use lukewarm water to activate the cleanser
- Apply with soft, upward circular motions
- Spend approximately 30-60 seconds massaging the product
- Avoid pulling or dragging skin
- Concentrate on congested areas without excessive rubbing
Pay special attention to your unique skin characteristics. Those with sensitive or acne-prone skin should use even lighter pressure and potentially shorter massage durations. The key is creating a balanced approach that thoroughly cleanses without overwhelming your skin’s natural processes. After completing the application, your face should feel refreshed, clean, and balanced - not tight, dry, or irritated. A successful cleanse leaves your skin prepared for subsequent skincare steps, creating an optimal canvas for moisturizing and protection.
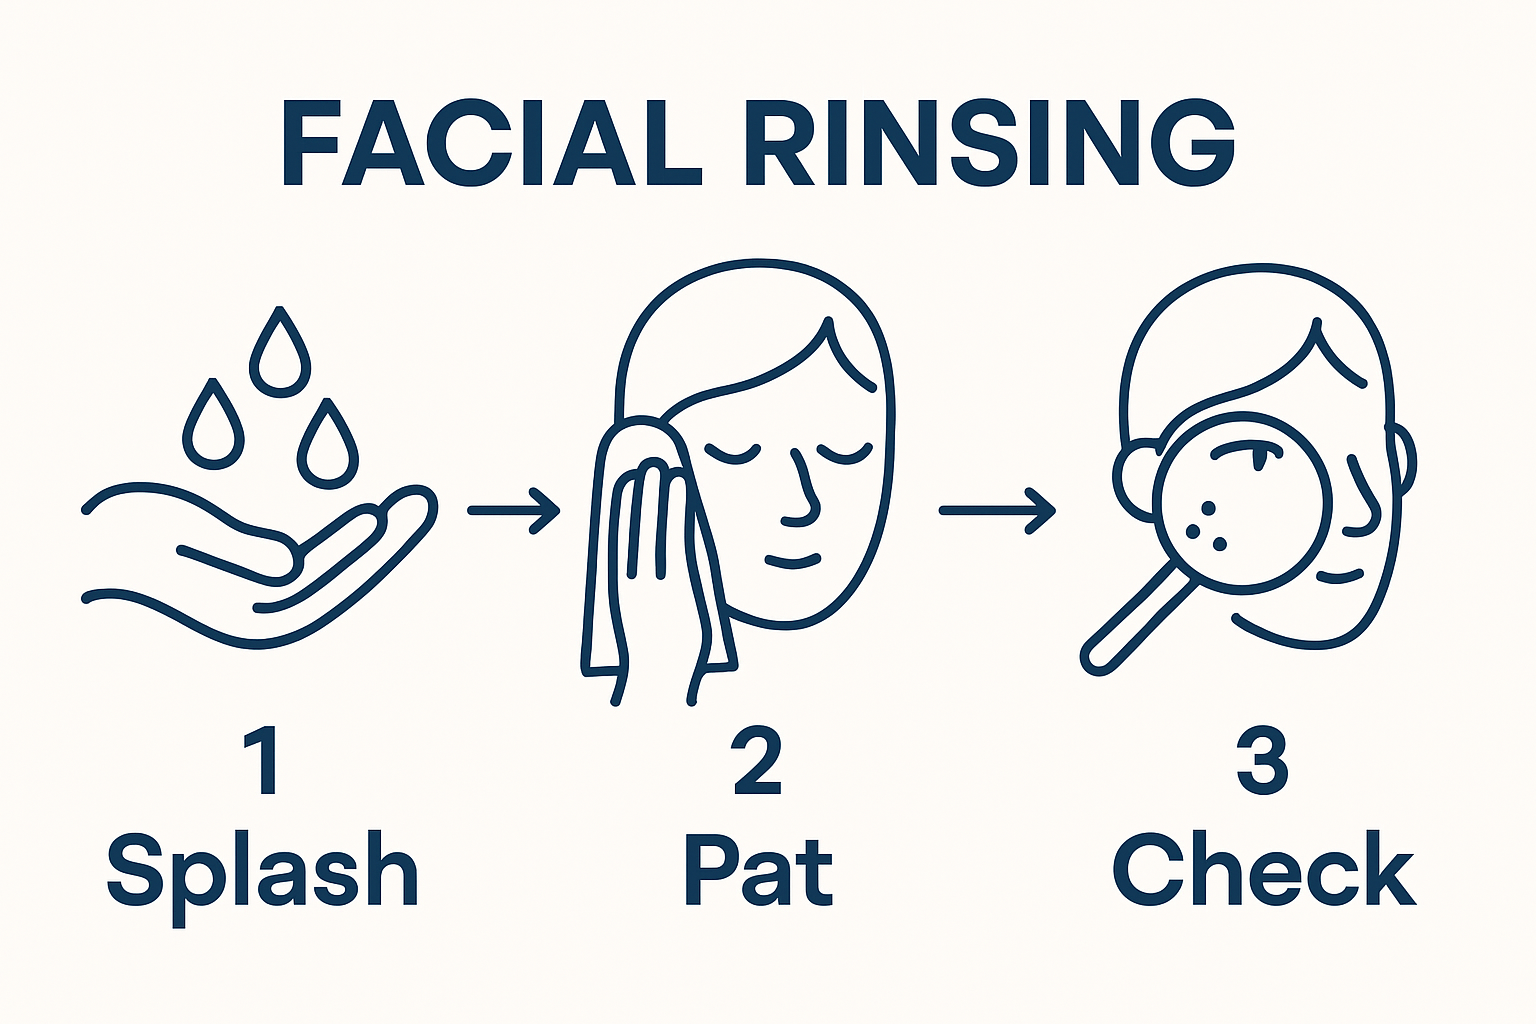
Step 4: Rinse face thoroughly with lukewarm water
The rinsing phase is a critical transition point in your facial cleansing routine, where proper water temperature and technique can make a significant difference in maintaining skin health. This step removes cleanser residue, helping to prevent potential irritation and ensuring that your skin is perfectly prepared for subsequent skincare treatments. Lukewarm water is the golden standard for facial rinsing, offering the ideal balance between effective cleansing and skin preservation.
Begin by cupping your hands and filling them with water at a comfortable, moderate temperature. Aim for water that feels neutral against your skin - not hot enough to cause redness or cold enough to create discomfort. Splash the water gently across your face, using a patting motion rather than aggressive rubbing. This approach helps to lift away cleanser and impurities without causing unnecessary friction or stress to your skin’s delicate surface.
Repeat the rinsing process multiple times, ensuring that no trace of cleanser remains. Pay special attention to areas where product tends to accumulate, such as around the hairline, nose creases, and jawline. According to dermatological guidance, thorough yet gentle rinsing is crucial to prevent potential skin irritation and product buildup.
Consider these strategic rinsing techniques:
- Use clean hands to guide water across your face
- Rinse from top to bottom to ensure complete coverage
- Perform 4-6 gentle splashes for comprehensive cleansing
- Avoid harsh water pressure or aggressive movements
- Check your skin for any remaining cleanser residue
After rinsing, your skin should feel clean, refreshed, and free of any soapy or sticky sensations. A successful rinse leaves no visible product traces and prepares your skin for the next steps in your skincare routine. Use a clean, soft towel to gently pat - not rub your face dry, maintaining the careful approach you’ve used throughout the cleansing process. Your skin should appear calm, balanced, and ready for moisturizing, with no signs of redness or irritation.
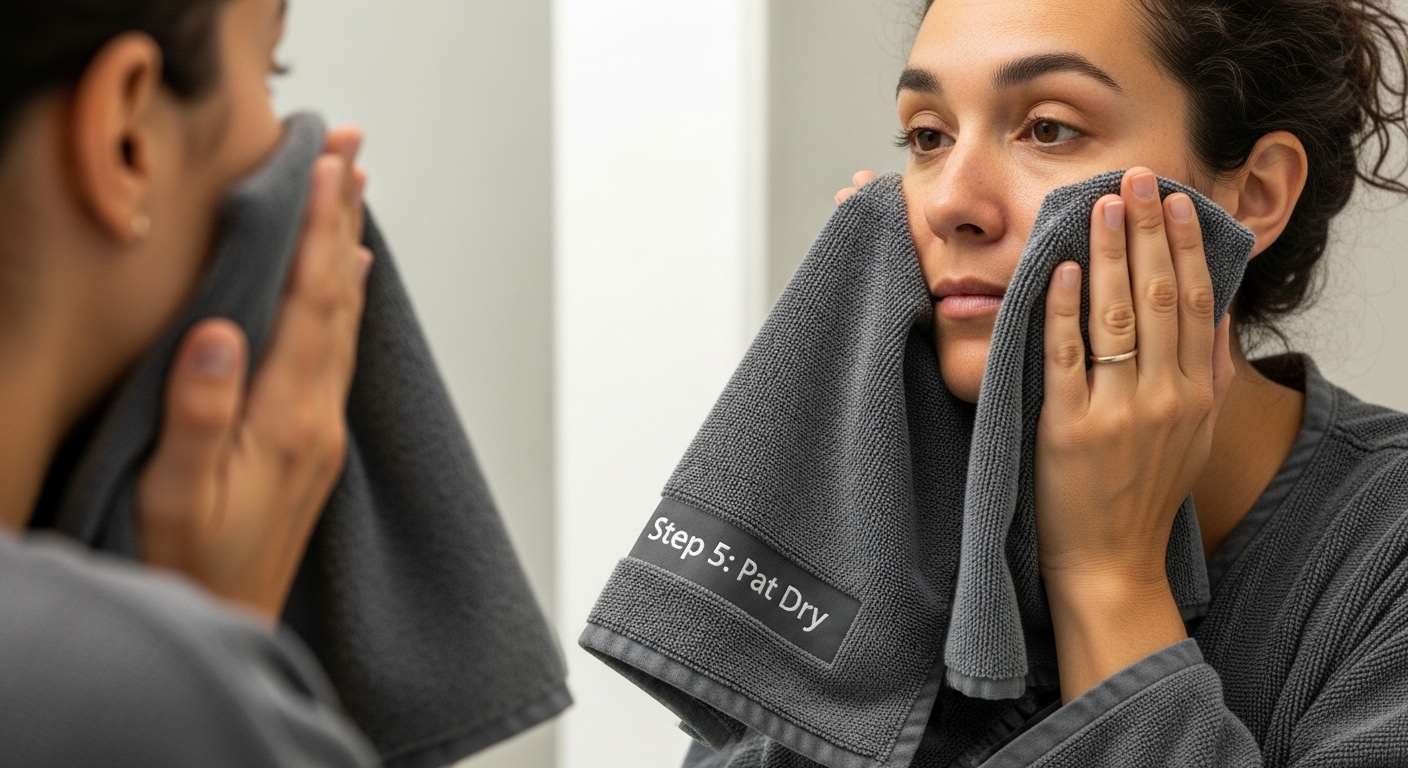
Step 5: Pat dry and assess your skin’s condition
The final stage of facial cleansing is a critical moment of evaluation and transition, where you transform from active cleansing to preparing your skin for subsequent skincare treatments. Proper drying technique and careful skin assessment can provide invaluable insights into your skin’s health and immediate needs. This step is not merely about removing moisture, but about understanding your skin’s response to the cleansing process.
Choose a soft, clean microfiber towel or a dedicated facial cloth that is gentle and lint-free. The key is to pat, not rub, using a delicate dabbing motion that minimizes friction and potential irritation. Pressing the towel gently against your skin allows moisture absorption without creating unnecessary stress on your delicate facial skin. Hold the towel against different areas of your face for a few seconds, allowing it to absorb water naturally without aggressive wiping motions.
Immediately after drying, conduct a thorough visual and tactile assessment of your skin. Look for any signs of redness, feel for unexpected tightness, and observe the overall texture and appearance. According to dermatological research, this post-cleansing evaluation helps you understand how your current routine impacts your skin’s health and can guide future product selections.
Consider these critical assessment criteria:
- Check for uniform skin tone and texture
- Note any areas of unexpected dryness or oiliness
- Observe skin’s immediate response to cleansing
- Feel for any residual tightness or discomfort
- Detect any potential signs of irritation
Your skin should feel clean, balanced, and comfortable - not stripped or overly tight. A successful cleansing routine leaves your skin feeling refreshed and prepared for the next steps in your skincare regimen. If you notice persistent redness, excessive dryness, or unusual sensations, it might be time to re-evaluate your cleanser or adjust your technique.
 The goal is to create a moment of connection with your skin, understanding its unique characteristics and responding to its immediate needs with thoughtful, personalized care.
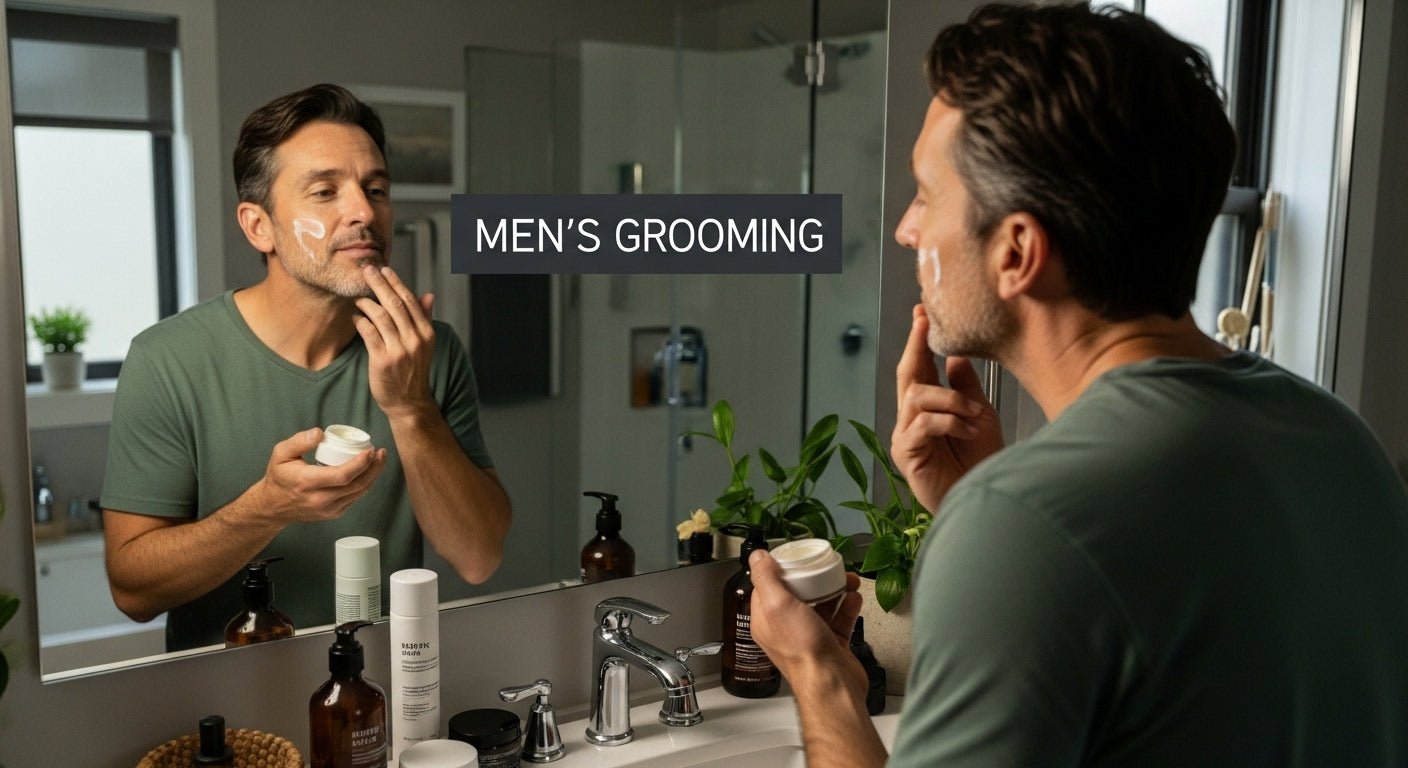
Step 6: Follow up with moisturizer for hydration
Moisturizing represents the crucial final step in your facial cleansing routine, transforming your skincare from simple cleaning to comprehensive nourishment. This stage is about replenishing moisture, protecting your skin’s natural barrier, and creating a foundation for long-lasting hydration and radiance. The right moisturizer acts like a protective shield, sealing in the benefits of your previous cleansing steps and preparing your skin for environmental challenges.
Select a moisturizer specifically formulated for your unique skin type, considering factors like texture, ingredients, and personal skin concerns. For those with oily skin, lightweight, gel-based formulations work best. Dry skin benefits from richer, cream-based moisturizers that provide deeper hydration. Apply the product immediately after cleansing while your skin is still slightly damp, which helps lock in additional moisture and enhances absorption.
Dispense a quarter-sized amount of moisturizer into your palm, warming it slightly between your fingers. Using gentle, upward motions, distribute the product evenly across your face and neck. Focus on areas prone to dryness or showing early signs of aging, such as around the eyes and mouth. Avoid pulling or dragging the skin, maintaining the delicate touch you’ve employed throughout your cleansing routine. According to scientific research, consistent moisturization helps restore skin barrier function and improve overall skin appearance.
Consider these strategic moisturizing principles:
- Apply moisturizer to slightly damp skin
- Use upward, gentle massage movements
- Concentrate on areas with specific skin concerns
- Allow complete absorption before applying makeup
- Reapply during the day if skin feels dry
A successful moisturizing step leaves your skin feeling soft, supple, and comfortably hydrated - not greasy or tight. Your skin should appear plump and have a subtle, healthy glow. If you notice any immediate discomfort, such as burning, excessive shine, or persistent dryness, you might need to adjust your product selection. The ultimate goal is creating a personalized skincare experience that nurtures and protects your skin’s unique characteristics.
Unlock Your Best Skin With GNS Beauty & Personal Care
If following your step-by-step cleansing leaves you questioning which products truly support radiant, healthy skin, you are not alone. Many people struggle to find facial cleansers, makeup removers, and moisturizers that fit their specific skin type without causing dryness or irritation. Skincare routines only work as well as the quality of the essentials you use. The article’s focus on gentle techniques, pH-balanced cleansers, and eco-conscious routines mirrors what we offer to customers who care about both results and wellness.

Ready for healthier, glowing skin? Discover our curated selection of premium, eco-conscious skincare on GNS Beauty & Personal Care. You will find gentle facial cleansers, nourishing moisturizers, and self-care essentials made to match your unique needs—all easily shoppable and backed by a satisfaction guarantee. Join a community that values quality and wellness. Take action now and elevate your daily routine by visiting our website and start building the routine your skin deserves.
Frequently Asked Questions
What are the essential supplies for facial cleansing?
Successful facial cleansing requires a pH-balanced facial cleanser suitable for your skin type, lukewarm water, clean soft towels, and optional tools like a cleansing brush or facial cloths.
How should I remove makeup before cleansing?
Use an appropriate makeup remover, such as micellar water or oil-based removers, applied with soft, lint-free cotton pads to gently dissolve makeup without harsh scrubbing.
What technique should I use when applying cleanser?
Dispense a quarter-sized amount of cleanser and apply it using soft, upward circular motions for about 30-60 seconds, focusing on congested areas while avoiding dragging the skin.
Why is it important to follow up with moisturizer after cleansing?
Moisturizing replenishes skin hydration, protects the natural barrier, and locks in the benefits of cleansing, ensuring your skin feels soft, supple, and ready for environmental challenges.


Leave a comment
All comments are moderated before being published.
This site is protected by hCaptcha and the hCaptcha Privacy Policy and Terms of Service apply.