
Over half of American adults now use foam rollers to ease muscle soreness and speed up post-workout recovery. Whether you are trying to keep up with a demanding fitness routine or simply want relief from everyday aches, finding the right foam rolling techniques can make a significant difference. This guide breaks down each step in simple terms so you can enjoy better flexibility, faster recovery, and stronger results.
Table of Contents
- Step 1: Select The Right Foam Roller For Your Needs
- Step 2: Prepare Your Body And Rolling Area
- Step 3: Position Yourself To Target Sore Muscles
- Step 4: Apply Controlled Pressure And Roll Slowly
- Step 5: Monitor Comfort And Adjust Technique As Needed
- Step 6: Finish With Gentle Stretches For Recovery
Quick Summary
| Main Idea | Explanation |
|---|---|
| 1. Choose the Right Roller Density | Selecting a foam roller density based on your experience ensures the pressure is suitable for your muscle recovery needs. |
| 2. Create an Optimal Rolling Environment | Prepare your space with firm surfaces and comfortable clothing for effective and safe foam rolling sessions. |
| 3. Master Correct Body Positioning | Proper body alignment when using the roller allows for targeted pressure on sore muscles, enhancing recovery. |
| 4. Apply Gradual Pressure and Roll Slowly | Move deliberately and control pressure to effectively release muscle tension and prevent injuries during rolling. |
| 5. Finish with Gentle Stretches | Conclude your session with stretches to enhance recovery, reduce stiffness, and promote overall muscle flexibility. |
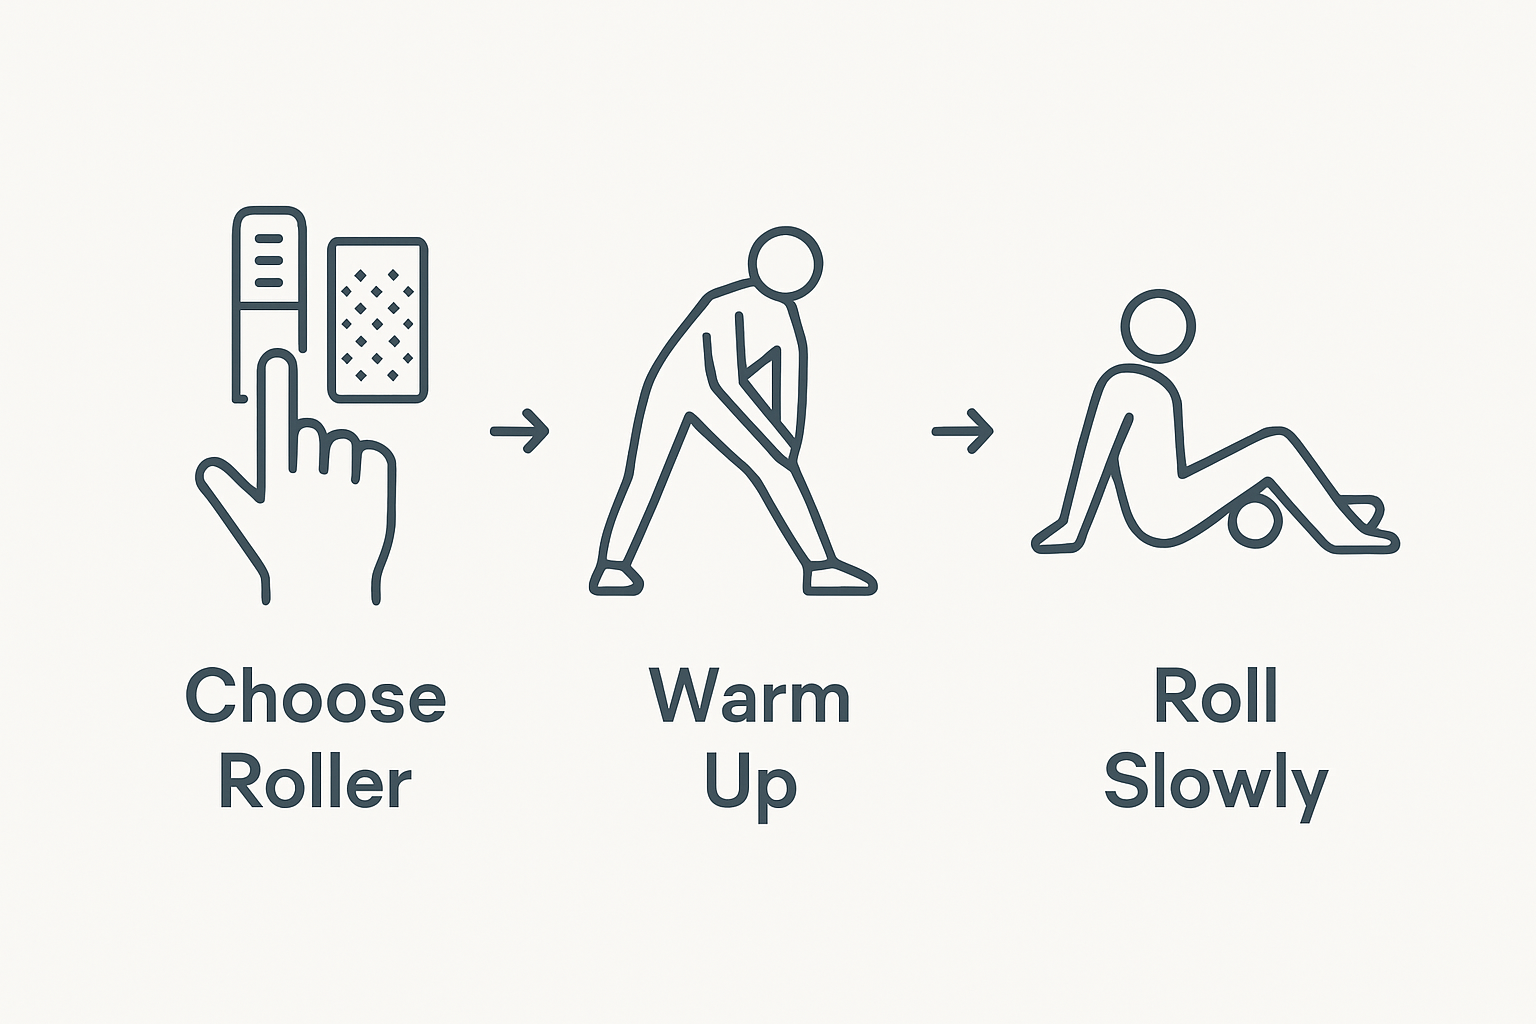
Step 1: Select the Right Foam Roller for Your Needs
Choosing the perfect foam roller can dramatically improve your muscle recovery and workout performance. Think of it like finding the right pair of running shoes your body will thank you later.
When selecting a foam roller, you want to consider several key factors that match your specific therapeutic needs. Start by examining the roller’s density because this determines how intense your muscle massage will be. Softer rollers provide gentle pressure perfect for beginners or sensitive muscle groups, while denser rollers deliver deeper tissue work for more experienced users.
Size and texture also play critical roles in your foam rolling experience. Standard rollers typically range from 12 to 36 inches long, with shorter versions ideal for targeted muscle work and longer ones better for full body rolling. Surface patterns like grid textures or bumps can provide more precise pressure and help break up muscle knots more effectively. Look for rollers with varied surface textures that match your personal comfort and muscle recovery goals.
Pro tip: If you are new to foam rolling, start with a medium density roller that offers balanced pressure and versatility. You can always upgrade to more specialized rollers as you become more comfortable with the technique.
Up next, you will learn how to properly position and use your new foam roller to maximize muscle recovery and prevent injury.
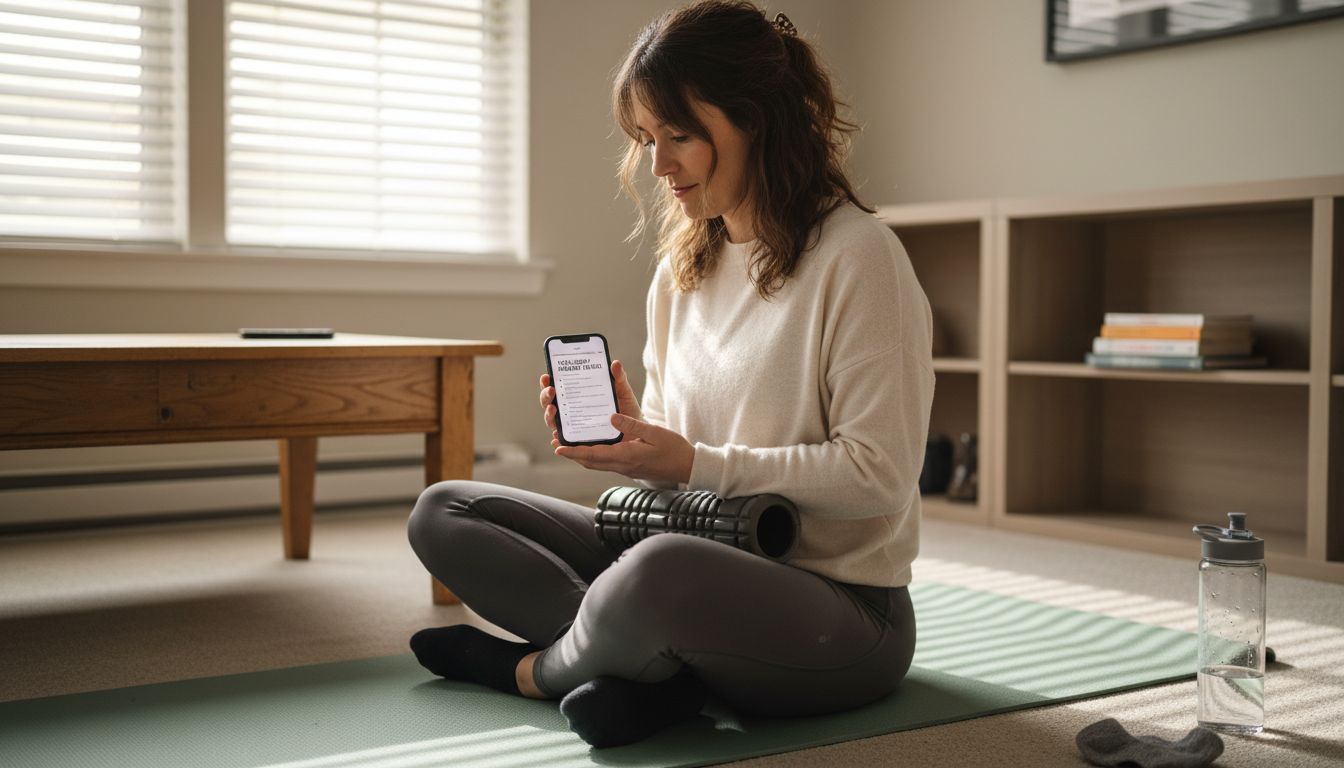
Step 2: Prepare Your Body and Rolling Area
Before you start foam rolling, creating the right environment and getting your body ready can make a significant difference in your recovery and muscle maintenance experience. This preparation stage is all about setting yourself up for a safe and effective session.
Selecting the right surface and space is crucial for your foam rolling routine. You want a firm, flat area with enough room to move comfortably. Hardwood floors, yoga mats, or exercise areas work best. Avoid soft surfaces like beds or couches that can throw off your balance and reduce the effectiveness of your rolling technique.
Clothing matters too. Wear comfortable, flexible workout gear that allows you to move freely and access different muscle groups easily. Tight or restrictive clothing can limit your range of motion and make foam rolling more challenging. Ensure your workout environment supports safe muscle maintenance by having water nearby and removing any potential obstacles that might interrupt your session.
Pro tip: Warm up your muscles with light stretching or a short walk before foam rolling. This increases blood flow and makes the muscles more receptive to the deep tissue massage you are about to perform.
Now that you are prepared, you are ready to learn the specific techniques for effective foam rolling.
Step 3: Position Yourself to Target Sore Muscles
Mastering the right positioning is crucial for getting the most out of your foam rolling session and effectively addressing muscle soreness. Think of it like a targeted massage where you are both the therapist and the client.
Proper body positioning allows you to apply precise pressure to specific muscle groups. Start by identifying the muscle area you want to work on and experiment with different body angles to find the most comfortable and effective approach. For example when targeting your hamstrings sit on the roller with your hands behind you for support and slowly roll from the back of your knee towards your glutes. For calves sit on the floor with the roller under one leg and use your hands to control the pressure and movement.
Creating the right body alignment helps maximize muscle recovery techniques by ensuring you can smoothly roll through muscle groups. Your body weight determines the intensity of the massage so adjust your position to control pressure. If an area feels too intense modify your position by reducing body weight or using your hands to support more of your weight.
Pro tip: Move slowly and breathe deeply. If you encounter a particularly tender spot pause and hold gentle pressure for 20 to 30 seconds allowing the muscle to release tension.
With your positioning mastered you are now ready to learn the specific rolling techniques that will help you release muscle tension and improve flexibility.
Step 4: Apply Controlled Pressure and Roll Slowly
Foam rolling is not a race but a deliberate practice of muscle recovery and tension release. Understanding how to apply the right amount of pressure can transform your recovery experience from painful to therapeutic.
Rolling techniques require gradual and controlled movements that allow your muscles to respond and relax. Start by placing the targeted muscle group on the roller and slowly shift your body weight. If an area feels particularly sensitive reduce your body weight by using your hands or supporting leg to modulate pressure. Move at a pace of about one inch per second which allows you to identify and work through muscle knots and tension points.
Maintaining moderate pressure helps prevent potential muscle strain while maximizing therapeutic benefits. Listen to your body signals pay attention to areas of discomfort and adjust accordingly. Some muscle groups might require gentler approaches while others can handle more intense rolling. When you find a tender spot pause and hold gentle pressure for 20 to 30 seconds allowing the muscle to release tension and break down adhesions.
Pro tip: Breathe deeply and consistently during your rolling session. Your breath helps your muscles relax and can reduce the perception of discomfort.
With these controlled rolling techniques mastered you are ready to explore more advanced muscle recovery strategies.
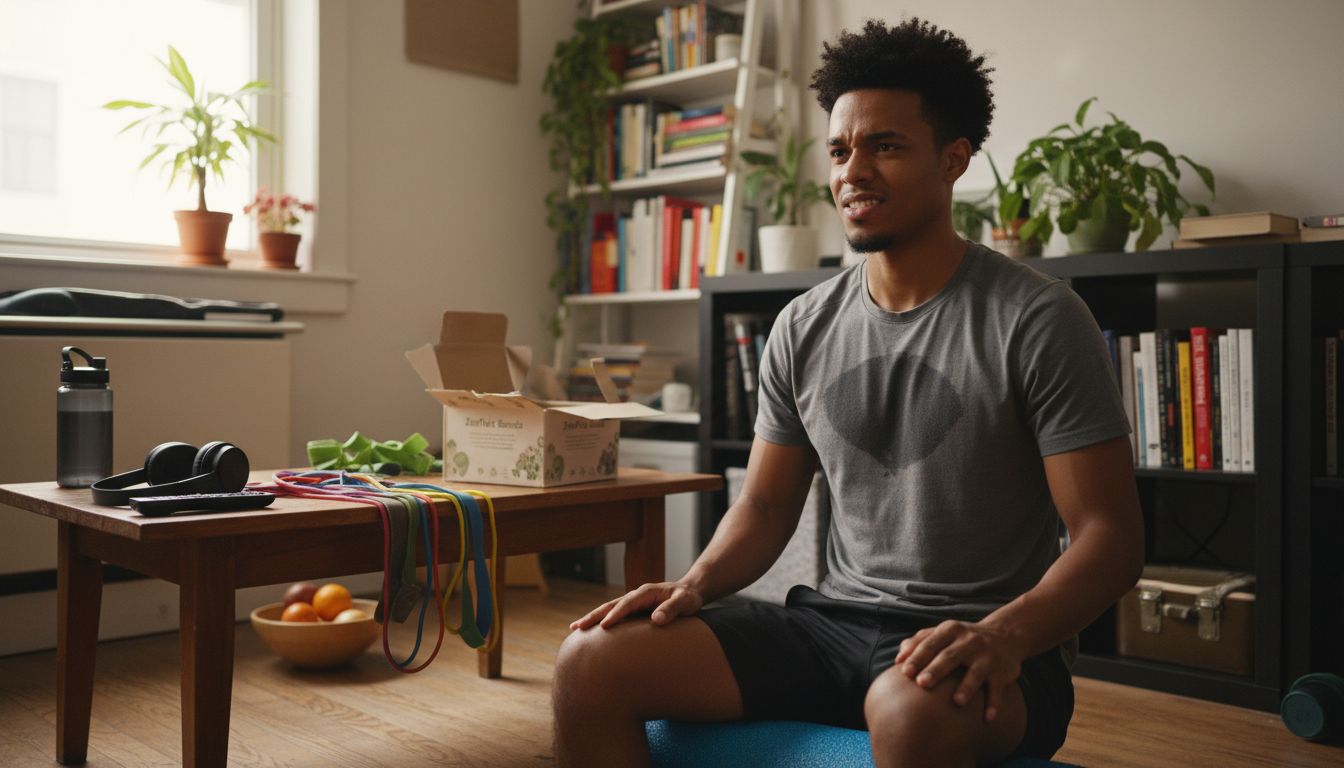
Step 5: Monitor Comfort and Adjust Technique as Needed
Foam rolling is a personal journey of muscle recovery where your body provides real time feedback. Learning to listen and respond to your muscles comfort signals is just as important as the rolling technique itself.
Paying close attention to body signals helps prevent potential injury during your foam rolling session. If you experience sharp pain instead of a manageable discomfort immediately stop and reassess your positioning. Some muscle groups are more sensitive than others so what works for your quads might feel too intense for your calves. Use your body weight and hand support to modulate pressure until you find a sweet spot that feels therapeutic without being unbearable.
Adapting your technique ensures safe and effective muscle recovery by allowing you to customize your approach. Different muscle groups require different strategies some need gentle rolling while others benefit from sustained pressure on tight knots. Watch for signs like muscle tension releasing or a gradual reduction in discomfort these indicate youre using the right technique.
Pro tip: Think of foam rolling like a conversation with your muscles. If something feels wrong pause listen and adjust.
With these adaptive techniques mastered you are now ready to integrate foam rolling into your regular fitness and recovery routine.
Step 6: Finish With Gentle Stretches for Recovery
Your foam rolling session is not complete until you add some strategic stretching to seal in the muscle recovery benefits. Think of these final stretches as the perfect cool down that helps your muscles reset and heal.
Gentle stretching after foam rolling amplifies muscle recovery and flexibility by helping muscles transition from an intense massage to a relaxed state. Focus on dynamic stretches that involve moving through a range of motion for the muscle groups you just rolled. For example if you rolled your hamstrings follow up with walking lunges or gentle leg swings. If you worked on your back do some standing side bends or cat cow stretches to further release tension and promote blood flow.
Implementing targeted stretches helps prevent muscle stiffness and potential injury after an intense foam rolling session. Hold each stretch for 15 to 30 seconds without bouncing and breathe deeply to help your muscles relax. Pay special attention to areas that felt particularly tight during rolling and give those muscle groups extra care and attention.
Pro tip: Stay hydrated after your foam rolling and stretching routine. Water helps flush out metabolic waste and supports muscle recovery.
With these recovery techniques complete you have successfully navigated a comprehensive muscle maintenance session that supports your overall fitness and wellbeing.
Enhance Your Muscle Recovery Routine With Premium Self-Care Essentials
If you are committed to naturally relieving muscle soreness using techniques like foam rolling, you understand the importance of choosing the right tools and following a thoughtful recovery process. This article highlights key challenges such as selecting the optimal foam roller density, mastering controlled pressure, and adapting techniques for sensitive muscle areas. These steps require complementary wellness products that nurture your body and maximize recovery benefits.

Unlock the full potential of your muscle maintenance routine with premium, eco-conscious personal care items from GNS Beauty & Personal Care. Our specially curated selection includes soothing skincare, hydrating body oils, and wellness essentials that perfectly align with your post-foam roller stretches and muscle care. Explore our collection to elevate your self-care ritual and embrace natural beauty and wellness. Take control now and visit GNS Beauty & Personal Care to shop products designed for fitness-savvy adults who demand effective recovery and a holistic approach to self-care.
Frequently Asked Questions
How do I choose the right foam roller for muscle soreness?
Selecting the right foam roller begins with assessing its density. Softer rollers provide gentle pressure for beginners, while denser rollers offer deeper tissue work for experienced users. Start with a medium density roller to balance comfort and effectiveness in your muscle recovery.
What is the best technique for using a foam roller?
The best technique involves targeted positioning and controlled rolling. Begin by identifying the muscle group you want to focus on, then slowly roll over the area, shifting your body weight to control pressure. Move at a pace of about one inch per second to effectively work through muscle knots.
How long should I foam roll each muscle group?
Foam rolling should typically last between 1 to 5 minutes for each muscle group. Focus on areas of tightness or discomfort, and hold gentle pressure on particularly tender spots for 20 to 30 seconds to promote relaxation. Adjust the duration based on your comfort level and needs.
Can foam rolling help reduce muscle soreness after workouts?
Yes, foam rolling is effective for reducing muscle soreness and improving recovery. Incorporate foam rolling into your post-workout routine, following it up with gentle stretches to enhance muscle flexibility and alleviate tightness. Aim to complete your rolling and stretching routine within 30 minutes after exercise for optimal benefits.
How can I make foam rolling more comfortable?
To make foam rolling more comfortable, focus on adjusting your body position and controlling the pressure applied to sore muscles. If an area feels too intense, lighten your body weight with your hands or adjust your positioning. Gradually adapt your technique as you listen to your body’s signals throughout your session.


Leave a comment
All comments are moderated before being published.
This site is protected by hCaptcha and the hCaptcha Privacy Policy and Terms of Service apply.