
DIY face masks for dry skin promise deep hydration using simple natural ingredients you can find at home. It might surprise you that raw honey contains powerful enzymes and antibacterial agents that do more than just moisturize—they help soothe and repair your skin too. Most people hunt for expensive creams, but the real magic for dry skin could be sitting in your pantry right now.
Table of Contents
- Step 1: Gather Your Natural Ingredients
- Step 2: Prepare Your Skin for Mask Application
- Step 3: Create Your Customized Face Mask
- Step 4: Apply the Mask Evenly on Your Face
- Step 5: Allow the Mask to Sit and Absorb
- Step 6: Rinse Off and Moisturize Your Skin
Quick Summary
| Key Point | Explanation |
|---|---|
| 1. Select high-quality natural ingredients | Use organic and minimally processed items like honey and avocados for best hydration results. |
| 2. Properly prepare your skin | Cleanse with a gentle, fragrance-free cleanser and lukewarm water to optimize absorption before applying the mask. |
| 3. Customize your mask for dry skin | Combine ingredients like avocado and honey suited to your specific skin needs for effective hydration. |
| 4. Apply the mask evenly and gently | Use clean hands or a brush to distribute the mask uniformly, avoiding sensitive areas like eyes and lips. |
| 5. Moisturize immediately after rinsing | Lock in hydration with a lightweight, non-comedogenic moisturizer right after removing the mask for best results. |
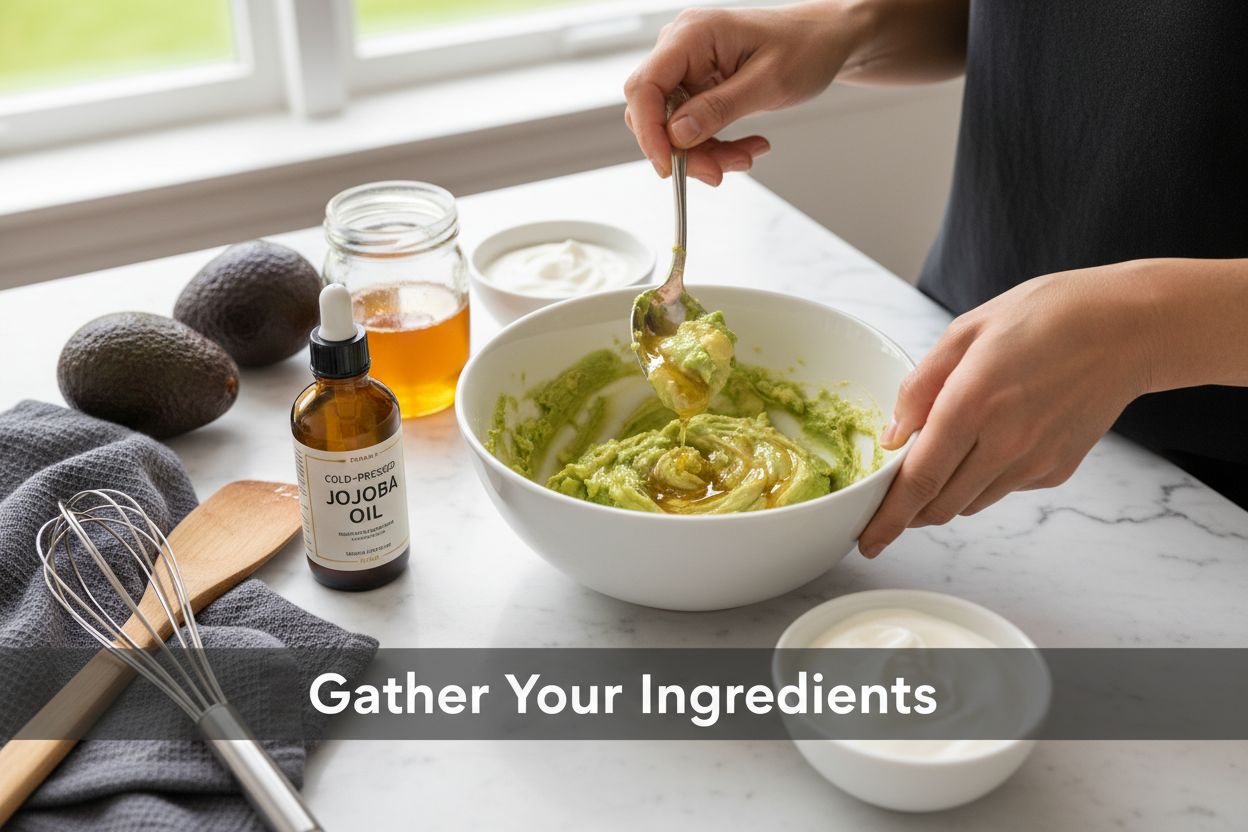
Step 1: Gather Your Natural Ingredients
Creating effective DIY face masks for dry skin starts with carefully selecting the right natural ingredients that provide deep hydration and nourishment. The key is understanding which components work synergistically to restore moisture and support your skin’s natural healing process.
Your home pantry and kitchen can actually be a treasure trove of powerful skincare ingredients. Start by collecting high-quality, organic ingredients that are pure and minimally processed. You will want to prioritize items known for their exceptional moisturizing properties, such as raw honey, ripe avocados, plain yogurt, and cold-pressed oils like coconut or jojoba.
The quality of your ingredients matters significantly. Look for unrefined, cold-pressed, and organic options whenever possible. Raw honey, for instance, contains natural enzymes and antibacterial properties that help soothe and repair dry skin. Similarly, avocados are rich in natural oils and vitamins that penetrate deeply into skin layers, providing intense hydration.
Before beginning your mask preparation, gather some basic tools to ensure a smooth process. Essential equipment includes:
- Clean mixing bowl
- Measuring spoons
- Whisk or fork for mixing
- Soft brush or clean fingers for application
- Clean towel for cleanup
Prep your workspace by thoroughly washing your hands and cleaning all surfaces and utensils. This prevents potential bacterial contamination and ensures your homemade mask remains safe and hygienic. Research from the National Institutes of Health emphasizes the importance of maintaining clean conditions when creating natural skincare treatments.
Check each ingredient for freshness and signs of spoilage before use. Fresh, high-quality ingredients not only work more effectively but also reduce the risk of skin irritation. If an item looks or smells unusual, it is best to discard it and start with a new batch of ingredients.
Here is a quick overview of the tools and natural ingredients suggested in the article for preparing effective DIY face masks for dry skin.
| Item | Type | Purpose | Special Considerations |
|---|---|---|---|
| Raw honey | Ingredient | Deep hydration, antibacterial, soothes and repairs skin | Choose raw, organic honey |
| Ripe avocado | Ingredient | Moisturizes, rich in oils and vitamins | Use fresh, ripe avocado |
| Plain yogurt | Ingredient | Gentle exfoliation, adds probiotics and moisture | Pick unflavored, plain yogurt |
| Coconut or jojoba oil | Ingredient | Nourishes skin, provides additional moisture | Opt for cold-pressed, organic |
| Clean mixing bowl | Tool | Mixing ingredients together | Use a clean, non-metal bowl |
| Measuring spoons | Tool | Accurate ingredient measurements | Ensure spoons are dry and clean |
| Whisk or fork | Tool | Combine and mash ingredients to a smooth consistency | Clean before use |
| Soft brush or fingers | Tool | Apply mask evenly to face | Wash thoroughly before use |
| Clean towel | Tool | Cleanup and drying hands/skin | Use a fresh, soft towel |
By meticulously selecting and preparing your natural ingredients, you set the foundation for a powerful, hydrating face mask that will help restore your skin’s natural moisture balance and radiance.
Step 2: Prepare Your Skin for Mask Application
Preparing your skin properly is a critical step in ensuring your DIY face mask delivers maximum hydration and effectiveness. Think of this preparation as creating the perfect canvas for your natural skincare treatment, allowing ingredients to penetrate deeply and work their restorative magic.
Cleansing is your first and most important preparatory action. Begin by thoroughly washing your hands to prevent transferring bacteria or dirt onto your face. Select a gentle cleanser that removes surface impurities without stripping your skin of its natural oils. For individuals with dry skin, choose a mild, fragrance-free cleanser that maintains your skin’s delicate moisture barrier.
Water temperature plays a surprisingly significant role in skin preparation. Lukewarm water is ideal for opening your pores without causing additional stress or dryness. Avoid using hot water, which can further dehydrate your skin and cause irritation. Gently massage the cleanser using circular motions, paying extra attention to areas prone to congestion like the T-zone, but being careful not to create unnecessary friction.
After cleansing, pat your skin dry with a soft, clean towel. Use a light dabbing motion instead of rubbing, which can cause unnecessary skin irritation. Your skin should feel clean but not tight or uncomfortable. If your skin feels overly dry after cleansing, this might indicate that you need a more hydrating cleanser.
Pre-mask skin preparation also involves a quick assessment of your skin’s current condition. Look for signs of:
- Excessive dryness or flakiness
- Redness or sensitivity
- Existing breakouts or irritation
- Uneven skin texture
Dermatological research from the American Academy of Dermatology suggests that understanding your skin’s unique characteristics helps optimize treatment effectiveness. If you notice significant skin concerns, consider consulting a skincare professional before applying a DIY mask.
For those with particularly dry or sensitive skin, consider applying a thin layer of lightweight, non-comedogenic moisturizer before your mask. This can provide an additional protective barrier and help prevent potential irritation from mask ingredients. The key is creating an optimal environment for your natural mask to work its hydrating wonders, setting the stage for rejuvenated, glowing skin.
Step 3: Create Your Customized Face Mask
Customizing your face mask is an art that allows you to address your specific dry skin concerns with precision and creativity. The goal is to blend natural ingredients that work harmoniously to restore moisture, soothe irritation, and revitalize your skin’s natural radiance.
Begin by selecting a base ingredient that provides deep hydration. Ripe avocado works exceptionally well as a primary component, offering rich natural oils and nutrients that penetrate deeply into the skin. Mash the avocado thoroughly using a fork, ensuring a smooth, creamy consistency without any large chunks that could make application uneven.
Next, incorporate complementary ingredients that enhance the mask’s moisturizing properties. Raw honey serves as an excellent addition, bringing natural humectant qualities that help your skin retain moisture. Measure ingredients carefully to maintain the right balance. For most masks, a ratio of two parts mashed avocado to one part honey creates an optimal texture and effectiveness.
Consider adding specialized ingredients based on your specific skin needs. For intense hydration, a tablespoon of plain yogurt can introduce probiotics and lactic acid that gently exfoliate while moisturizing. Cold-pressed oils like jojoba or coconut can provide additional nourishment, but use them sparingly - just a few drops can make a significant difference.
When mixing your ingredients, use gentle, consistent motions to create a uniform blend. Aim for a smooth, spreadable consistency that will adhere easily to your skin. If the mixture feels too thick, you can thin it slightly with a few drops of warm water or aloe vera juice.
This table summarizes common hydrating DIY face mask ingredient combinations mentioned in the article, along with their key skin benefits.
| Combination | Key Hydration Benefits |
|---|---|
| Avocado + honey + yogurt | Deep hydration, gentle exfoliation, softening |
| Banana + olive oil + honey | Skin softening, extra nourishment, moisture seal |
| Oatmeal + almond milk + honey | Soothes dry patches, calms irritation, smoothes |
| Avocado + honey | Locks in moisture, repairs skin barrier |
| Yogurt + honey | Mild exfoliation, hydration boost |
Potential mask combinations include:
- Avocado + honey + yogurt for deep hydration
- Banana + olive oil + honey for skin softening
- Oatmeal + almond milk + honey for soothing dry patches
Research from the National Institutes of Health highlights how combining natural ingredients can create powerful skincare treatments. The key is understanding how different components interact and complement each other.
As a final preparation step, transfer your mask mixture to a clean bowl and let it rest for a few minutes. This brief waiting period allows the ingredients to meld together, creating a more consistent and effective treatment. Your homemade mask is now ready for application, promising a personalized approach to addressing your dry skin concerns.
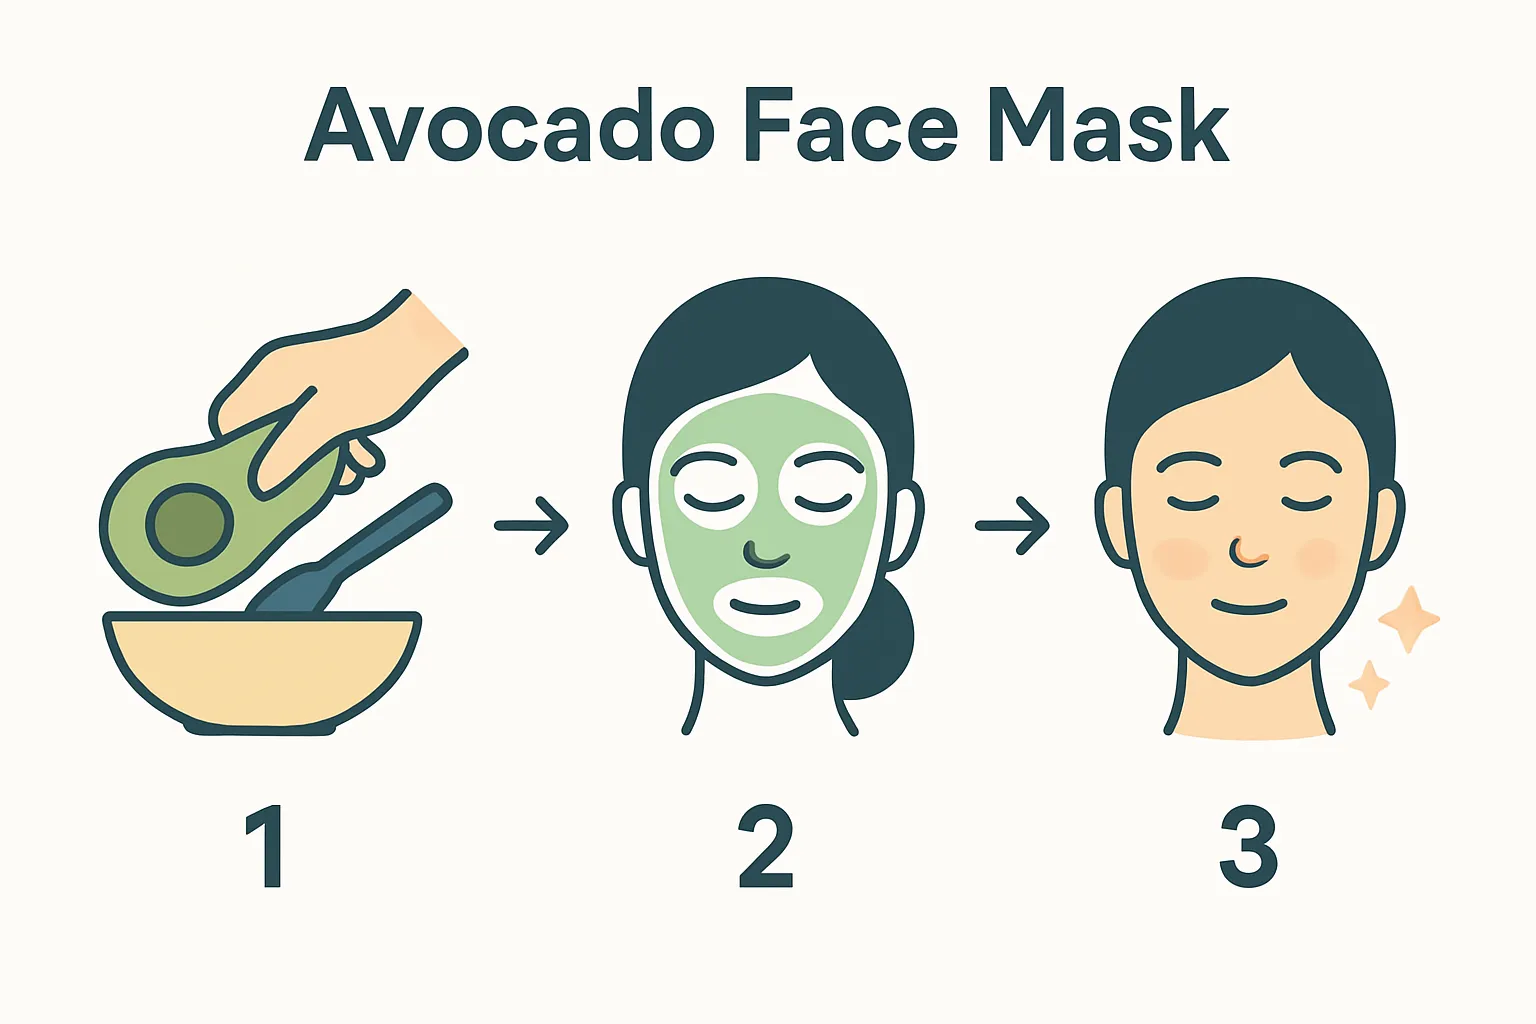
Step 4: Apply the Mask Evenly on Your Face
Applying your homemade face mask requires a delicate touch and strategic approach to maximize hydration and minimize potential skin irritation. The goal is to create a uniform layer that allows your carefully crafted natural ingredients to work their moisturizing magic across every area of your face.
Begin with clean hands and a clean workspace. Use your fingertips or a soft, clean makeup brush to apply the mask, which helps create a more even distribution and reduces the risk of transferring additional bacteria to your skin. Start from the center of your face and move outward in gentle, sweeping motions, ensuring complete coverage.
Pay special attention to areas most prone to dryness, such as around the nose, cheeks, and forehead. Apply a slightly thicker layer on these regions, but be careful not to create uneven clumps. The mask should feel like a smooth, consistent layer that adheres comfortably to your skin without dripping or sliding.
Be mindful of the delicate skin around your eyes and lips. Maintain a small buffer zone of approximately half an inch around these areas to prevent potential irritation. If your mask ingredients accidentally come too close to your eyes or mouth, gently wipe them away with a soft, damp cloth.
Consider your skin’s unique characteristics during application. For those with sensitive skin, use extra gentle patting motions instead of rubbing. If you have combination skin, you might notice some areas absorb the mask more quickly than others - this is normal and indicates varying levels of hydration needs.
Application tips to remember:
- Use light, upward motions to support skin elasticity
- Avoid pulling or stretching the skin
- Apply mask in a well-lit area to ensure complete coverage
- Keep movements soft and deliberate
Dermatological guidance from the American Academy of Dermatology emphasizes the importance of gentle application techniques to prevent skin stress. Your goal is a smooth, even layer that feels comfortable and allows maximum ingredient absorption.
Once applied, take a moment to assess your mask’s coverage. Gently look in the mirror and use your fingertips to check for any missed spots or uneven areas. The final result should be a consistent, smooth layer that feels cool and refreshing against your skin, promising deep hydration and renewal.
Step 5: Allow the Mask to Sit and Absorb
The waiting period is a crucial phase in your DIY face mask treatment, where the carefully selected natural ingredients work their transformative magic on your dry skin. This is not merely a passive waiting time, but an active healing moment where your skin absorbs the rich nutrients and moisture you’ve carefully prepared.
Timing is essential for maximizing the mask’s effectiveness. Most homemade masks for dry skin work best when left on for 15 to 20 minutes. Set a timer to ensure you do not exceed the recommended duration, as leaving the mask on too long can potentially dry out your skin or cause irritation. Different ingredients have varying absorption rates, so pay attention to how your skin feels during this period.
Create a relaxing environment that supports your skincare ritual. Find a comfortable spot where you can remain relatively still, allowing the mask to work undisturbed. This might mean reclining in a comfortable chair, lying down, or sitting in a peaceful area of your home. Avoid high-humidity spaces like bathrooms, which can compromise the mask’s effectiveness.
During the mask’s sitting time, focus on remaining calm and relaxed. Your skin absorbs nutrients most effectively when you are in a relaxed state. Deep, slow breathing can help reduce stress and potentially enhance the mask’s hydrating benefits. Some people find it helpful to play soft music, practice meditation, or simply enjoy a few moments of quiet reflection.
Watch for subtle changes in your skin during the mask’s application:
- Feeling of cooling or gentle tingling
- Gradual softening of skin texture
- Reduced sensation of tightness or dryness
- Even skin tone and reduced redness
Scientific research from the National Institutes of Health demonstrates that short-term occlusive treatments like face masks can significantly improve skin hydration. As the minutes pass, you might notice your skin feeling more supple and refreshed.
If you experience any unexpected burning, excessive itching, or discomfort, remove the mask immediately using lukewarm water. These sensations could indicate a potential allergic reaction or sensitivity to one of the ingredients. Always listen to your skin and prioritize its comfort and health throughout the process.
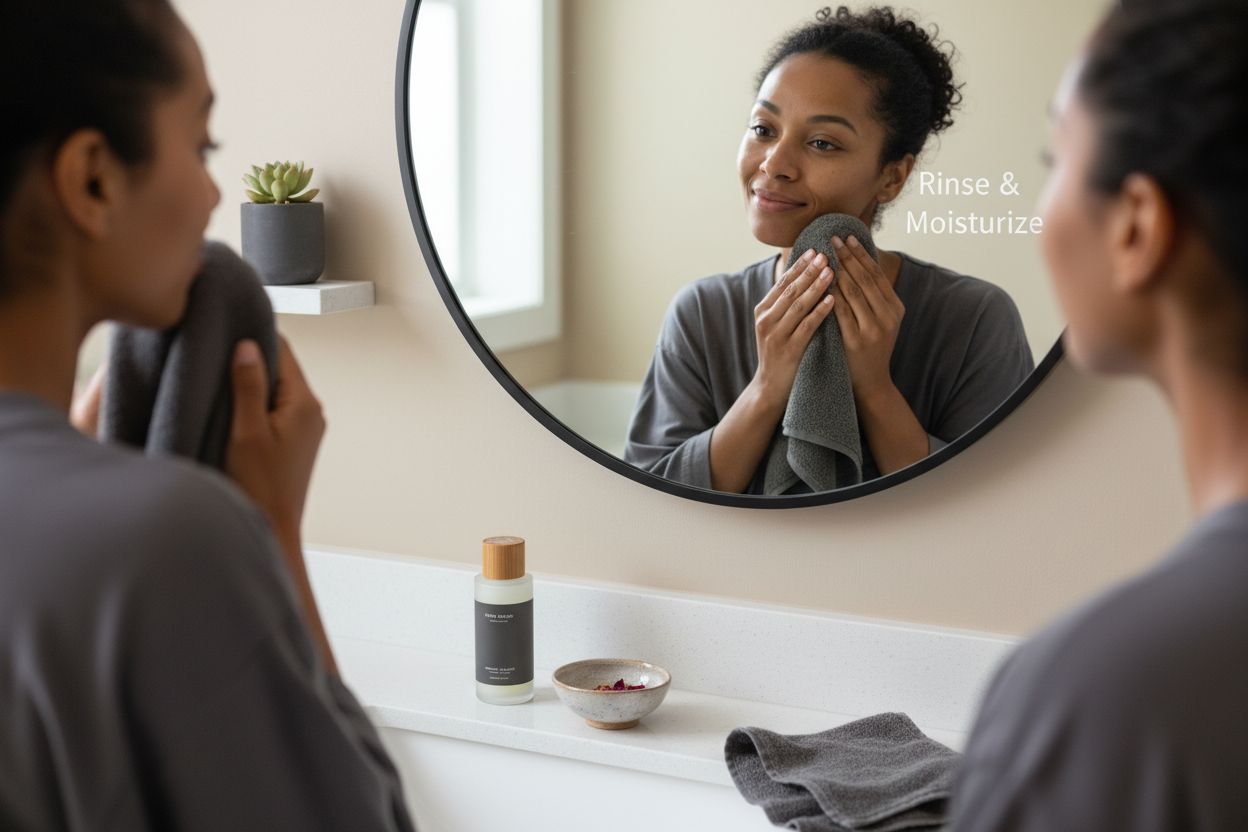
Step 6: Rinse Off and Moisturize Your Skin
The final stages of your DIY face mask treatment are just as critical as the preparation and application. Proper removal and immediate moisturization will lock in the nourishing benefits and ensure your skin remains hydrated and radiant.
Begin the removal process with lukewarm water, which helps gently dissolve the mask without shocking your skin. Avoid using hot water, as it can strip away the natural oils and protective barrier you’ve just carefully nourished. Use soft, circular motions with your fingertips to help loosen the mask, working from the center of your face outward. This technique ensures thorough cleansing while maintaining skin integrity.
Choose a soft, clean washcloth for the final removal if your mask has persistent texture. Pat the cloth gently against your skin rather than rubbing aggressively, which could cause unnecessary friction and potential irritation. The goal is to remove the mask completely while keeping your skin’s newfound softness intact.
After complete removal, take a moment to assess your skin’s texture and appearance. Your face should feel soft, smooth, and noticeably more hydrated. Any remaining mask residue can be delicately wiped away with a clean, damp cloth. Gently pat your skin dry with a soft towel, leaving it slightly damp to help with the next moisturizing step.
Immediate moisturization is crucial for sealing in the mask’s hydrating benefits. Select a lightweight, non-comedogenic moisturizer that complements your skin type. Look for ingredients like:
- Hyaluronic acid for deep hydration
- Ceramides to support skin barrier
- Glycerin for moisture retention
- Squalane for smooth application
Dermatological guidance suggests that applying moisturizer immediately after a hydrating mask helps replenish lost lipids and maintain skin softness. Warm the moisturizer between your hands before applying, using upward, gentle strokes to encourage absorption.
For those with extremely dry skin, consider layering a facial oil over your moisturizer. This additional step can provide an extra barrier of hydration, helping to lock in the nourishing ingredients from your homemade mask. Remember, your skin has just undergone a rejuvenating treatment, so treat it with the utmost care and gentleness.
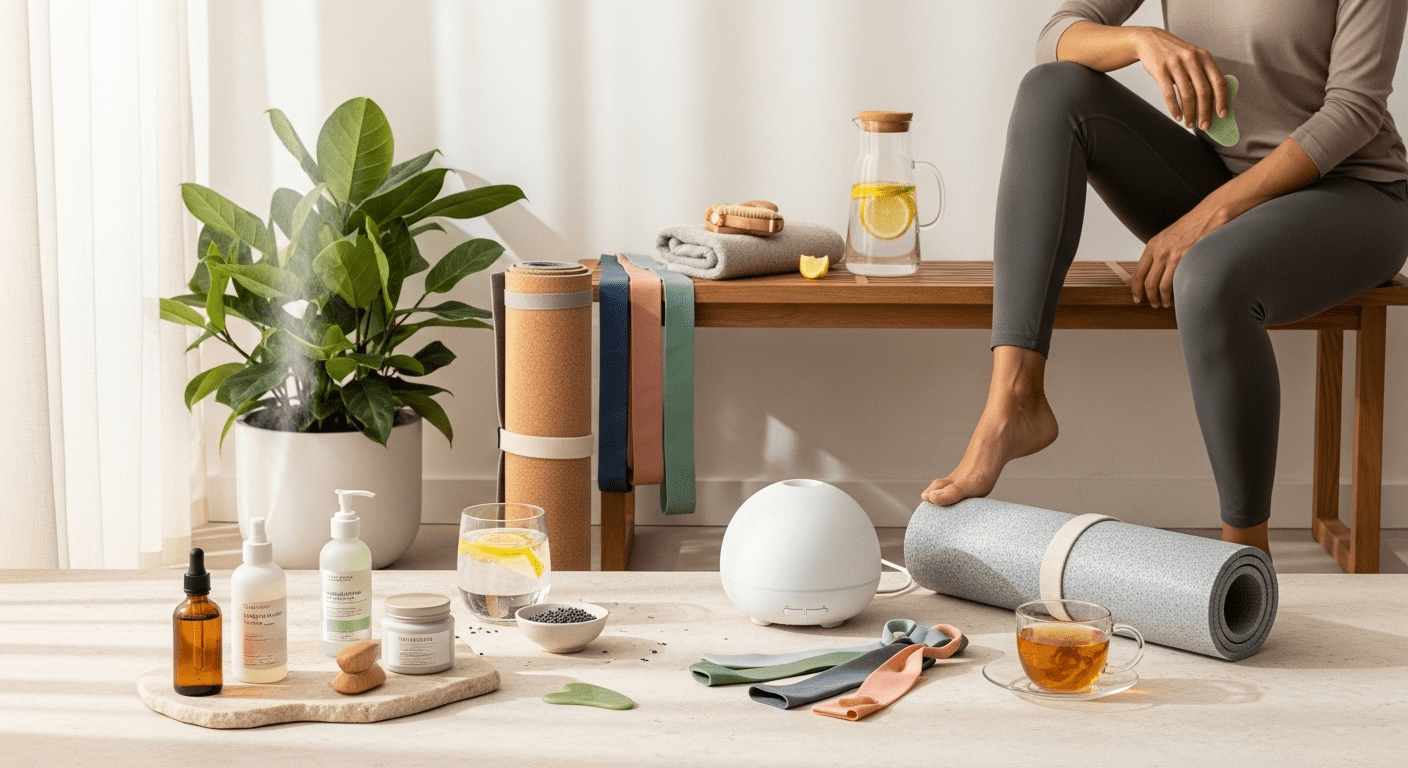
Transform Your Skin Care Journey From DIY to Luxury Results
Struggling with stubborn dry skin even after using homemade face masks? You deserve visible hydration that lasts and a routine that fits your busy lifestyle. The article explored the benefits of natural ingredients, clean preparation, and deep hydration, but sometimes DIY only goes so far. When your skin calls for elevated nourishment and consistent results, premium products can make all the difference.

Why wait for trial and error? Discover a curated collection of eco-conscious, luxury skincare and wellness solutions at GNS Beauty & Personal Care. Our handpicked moisturizers, soothing facial oils, and gentle cleansers are designed for adults seeking real, noticeable results and time-saving self-care. Start shopping today to enjoy instant hydration, glowing skin, and the confidence that comes from a professional wellness ritual. Visit our homepage to see how easy it is to level up your self-care routine now.
Frequently Asked Questions
What ingredients are best for DIY face masks for dry skin?
To effectively hydrate dry skin, consider using natural ingredients like raw honey, ripe avocados, plain yogurt, and cold-pressed oils such as coconut or jojoba. These ingredients provide deep moisture and essential nutrients.
How do I properly prepare my skin before applying a face mask?
Begin by cleansing your skin with a gentle, fragrance-free cleanser using lukewarm water. Make sure to wash your hands and face to remove impurities, and pat your skin dry with a soft towel, readying it for maximum absorption of the mask’s ingredients.
How long should I leave a DIY face mask on for maximum benefits?
Most homemade masks are most effective when left on for 15 to 20 minutes. This allows your skin to absorb the hydrating properties without risking irritation or excessive dryness from prolonged exposure.
What should I do after removing the mask to maintain hydration?
After rinsing off the mask with lukewarm water, gently pat your skin dry and immediately apply a lightweight, non-comedogenic moisturizer to seal in hydration. Consider using products with ingredients like hyaluronic acid or ceramides for enhanced moisture retention.


Leave a comment
All comments are moderated before being published.
This site is protected by hCaptcha and the hCaptcha Privacy Policy and Terms of Service apply.